Wednesday, September 26, 2018

Lemon Lavender Loaf

 
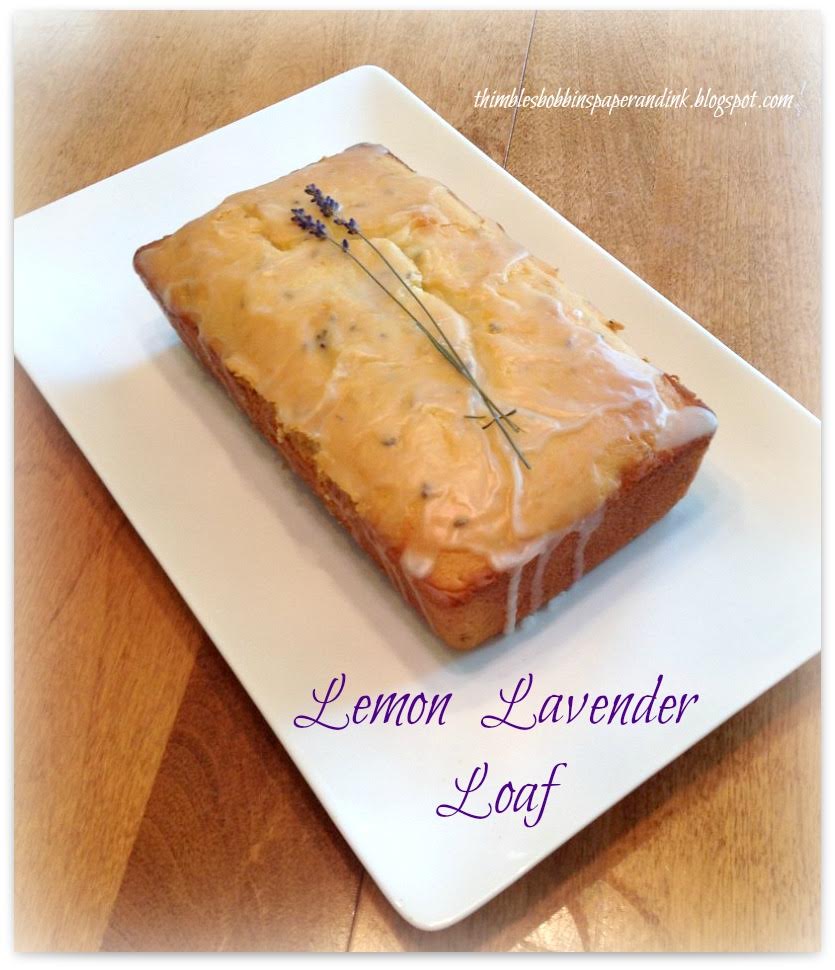
I absolutely love all things lavender!  The scent, color, and flavor it adds to tea, baked good and ice cream.  Drying in my kitchen is lavender that I grow in my garden.  Lemon Lavender Loaf was calling to be made.

 
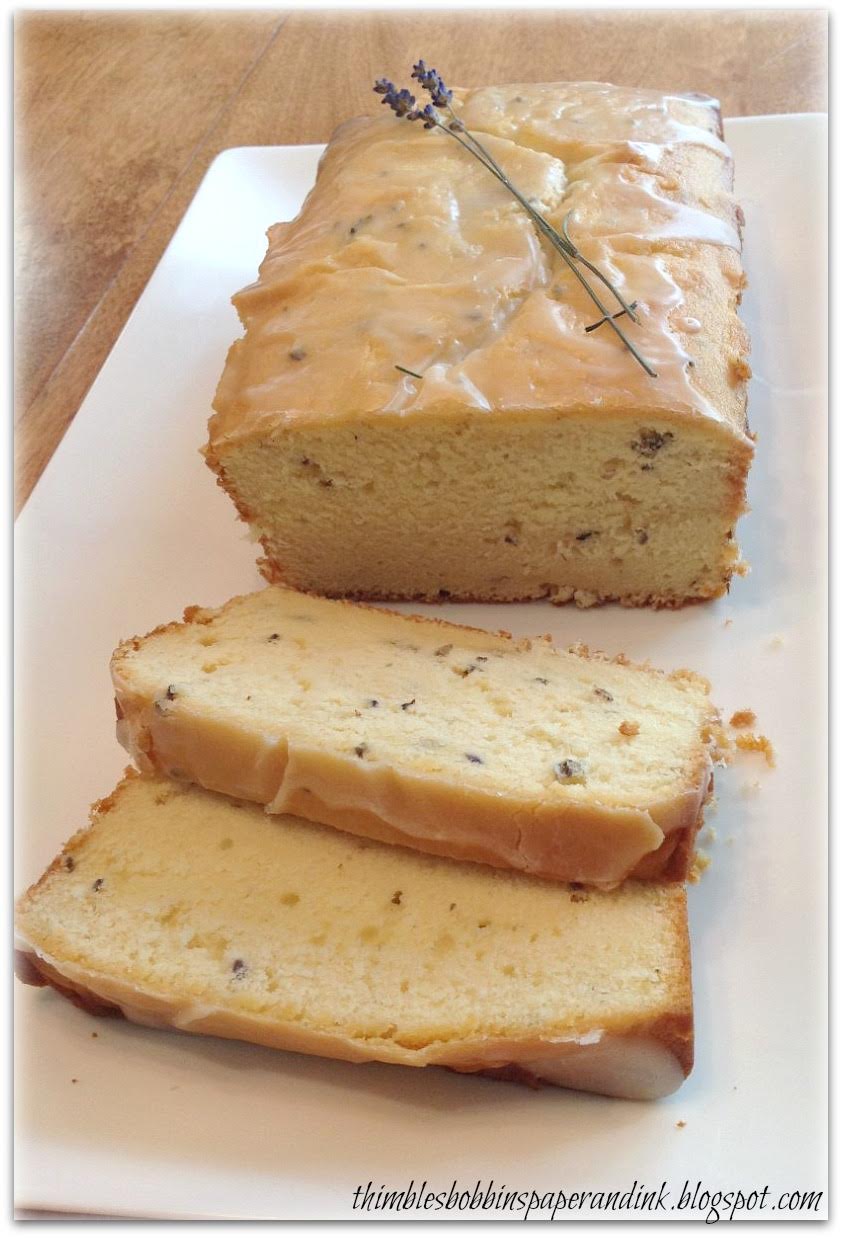
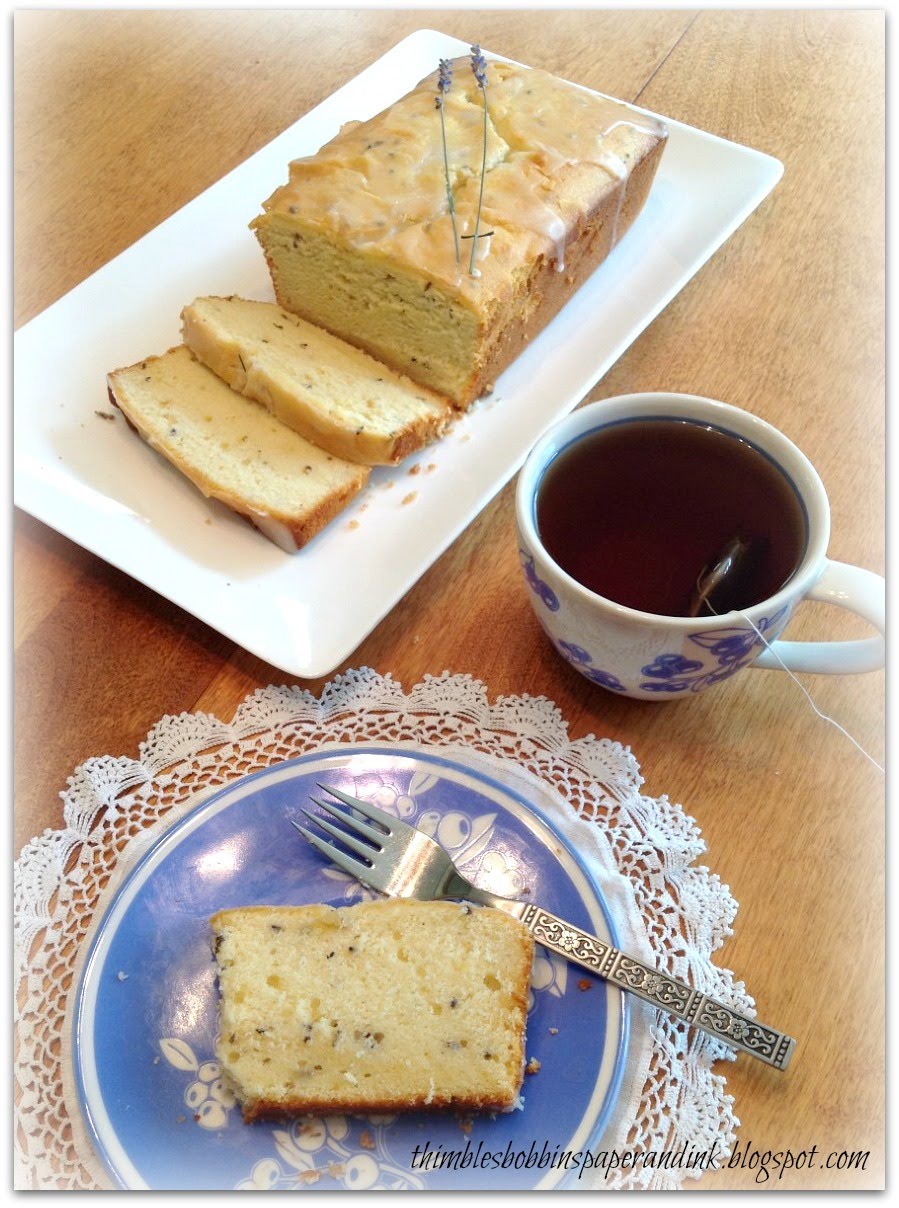
This loaf cake/bread is light, moist and just perfect with a cup of tea.  Topped with a very light drizzle of lemon/icing sugar glaze, it is sweet and tart at the same time.

 
Lemon Lavender Loaf Cake


Ingredients:
  • 1 1/2 cups All-purpose Flour
  • 1/4 teaspoon Baking Powder
  • 1/4 teaspoon Baking Soda
  • 1/4 teaspoon Salt
  • 1/2 cup softened Butter
  • 1 cup Sugar
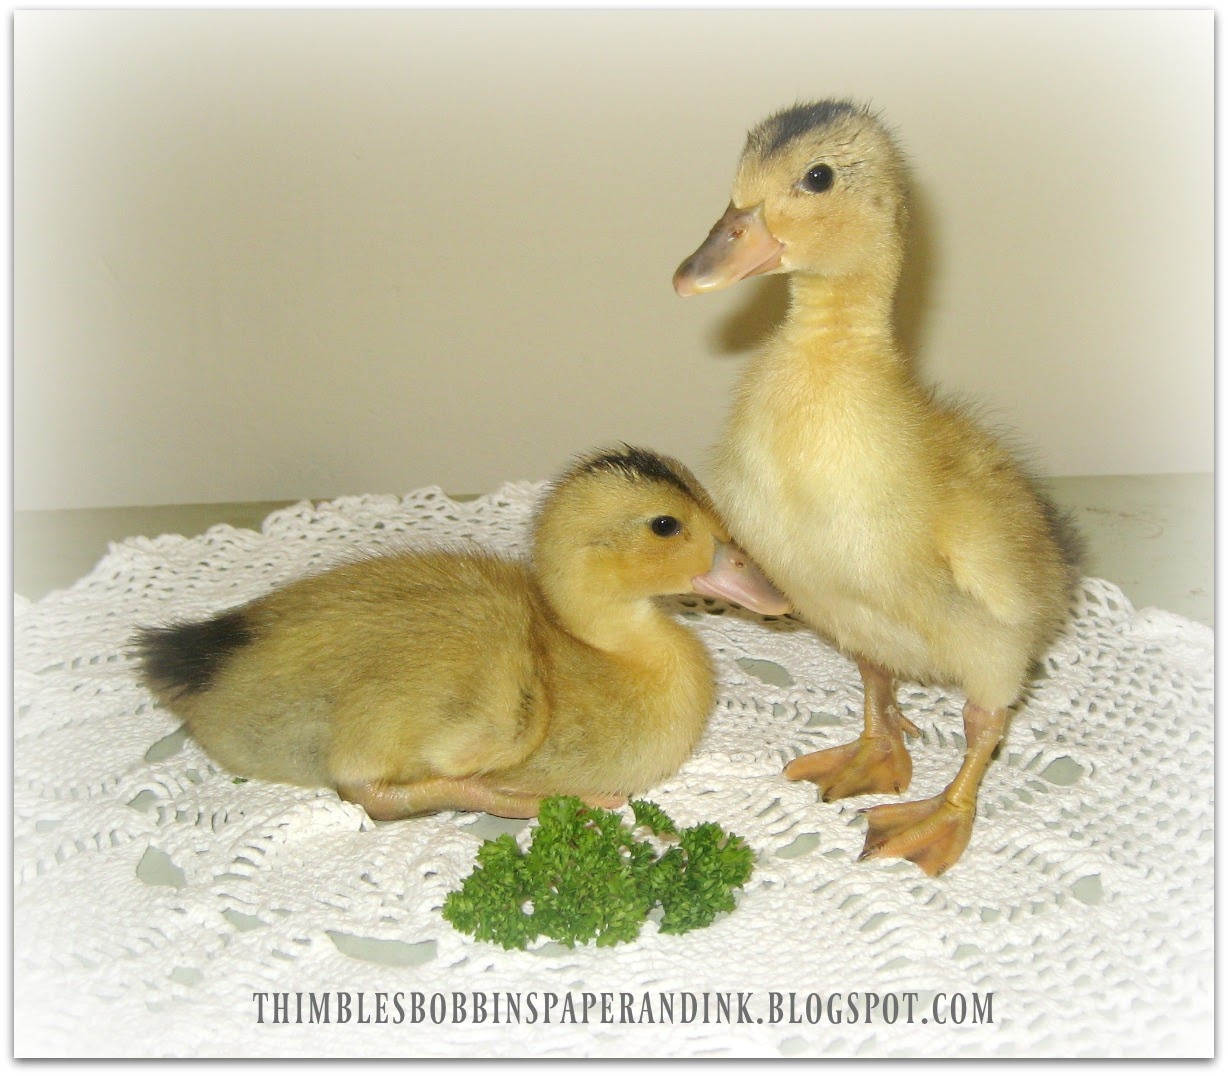
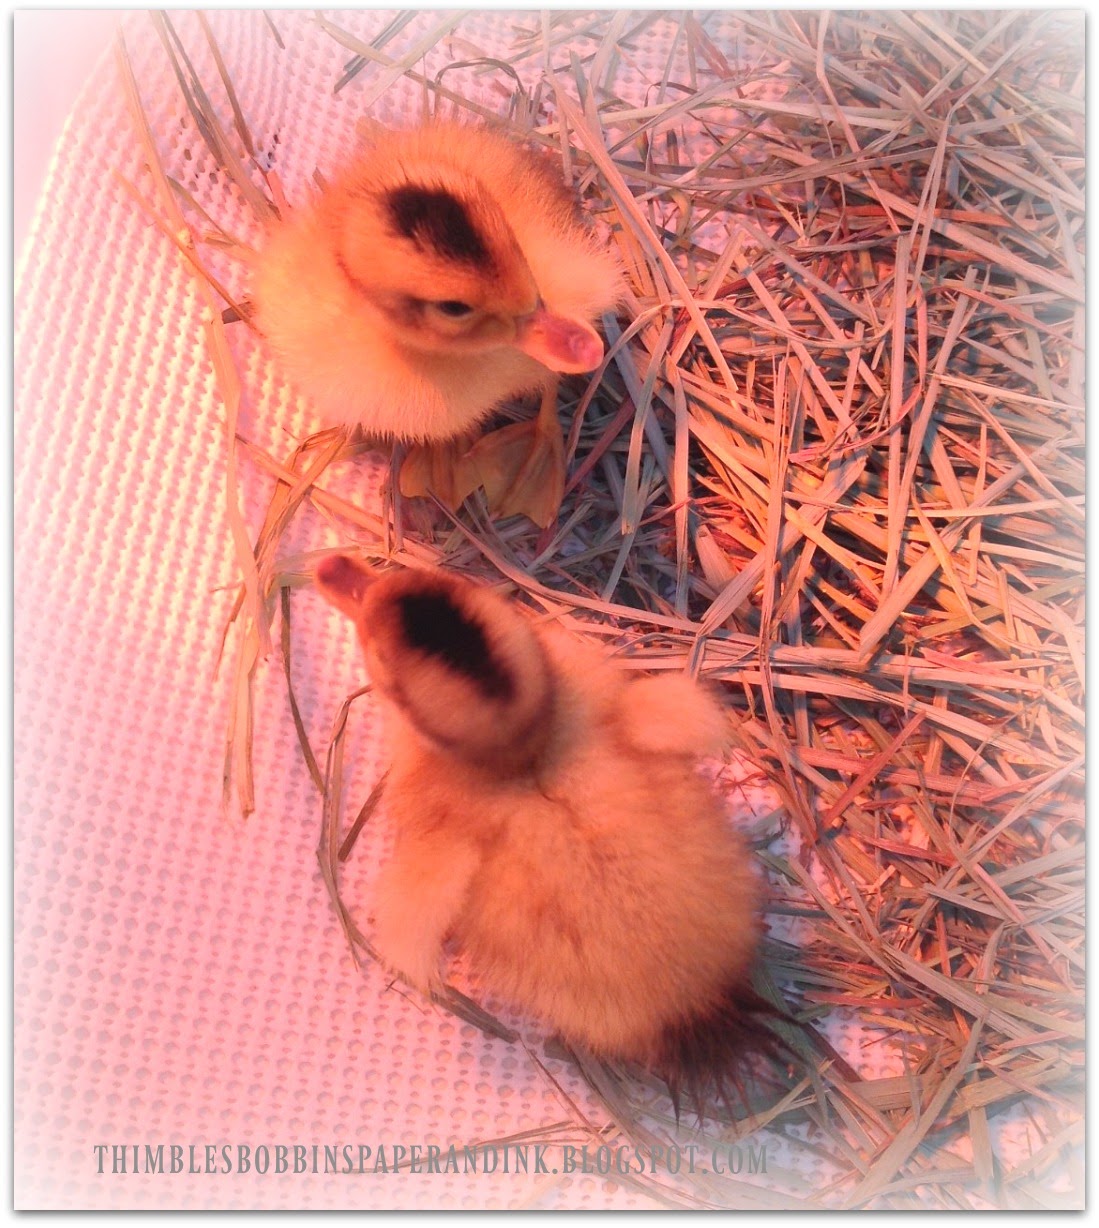
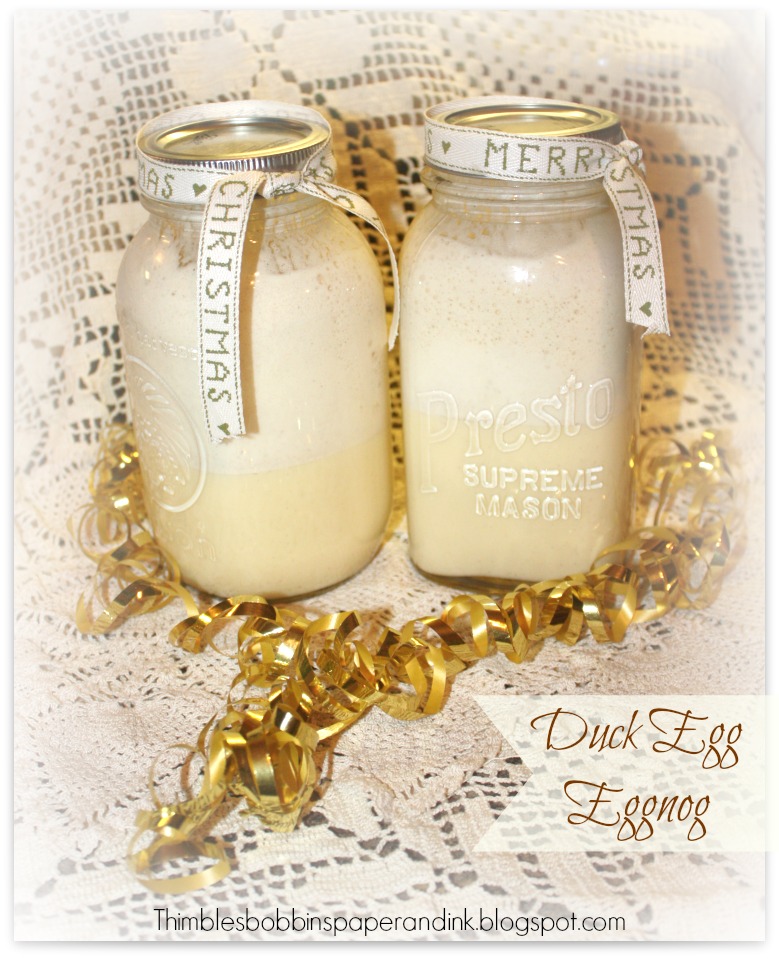
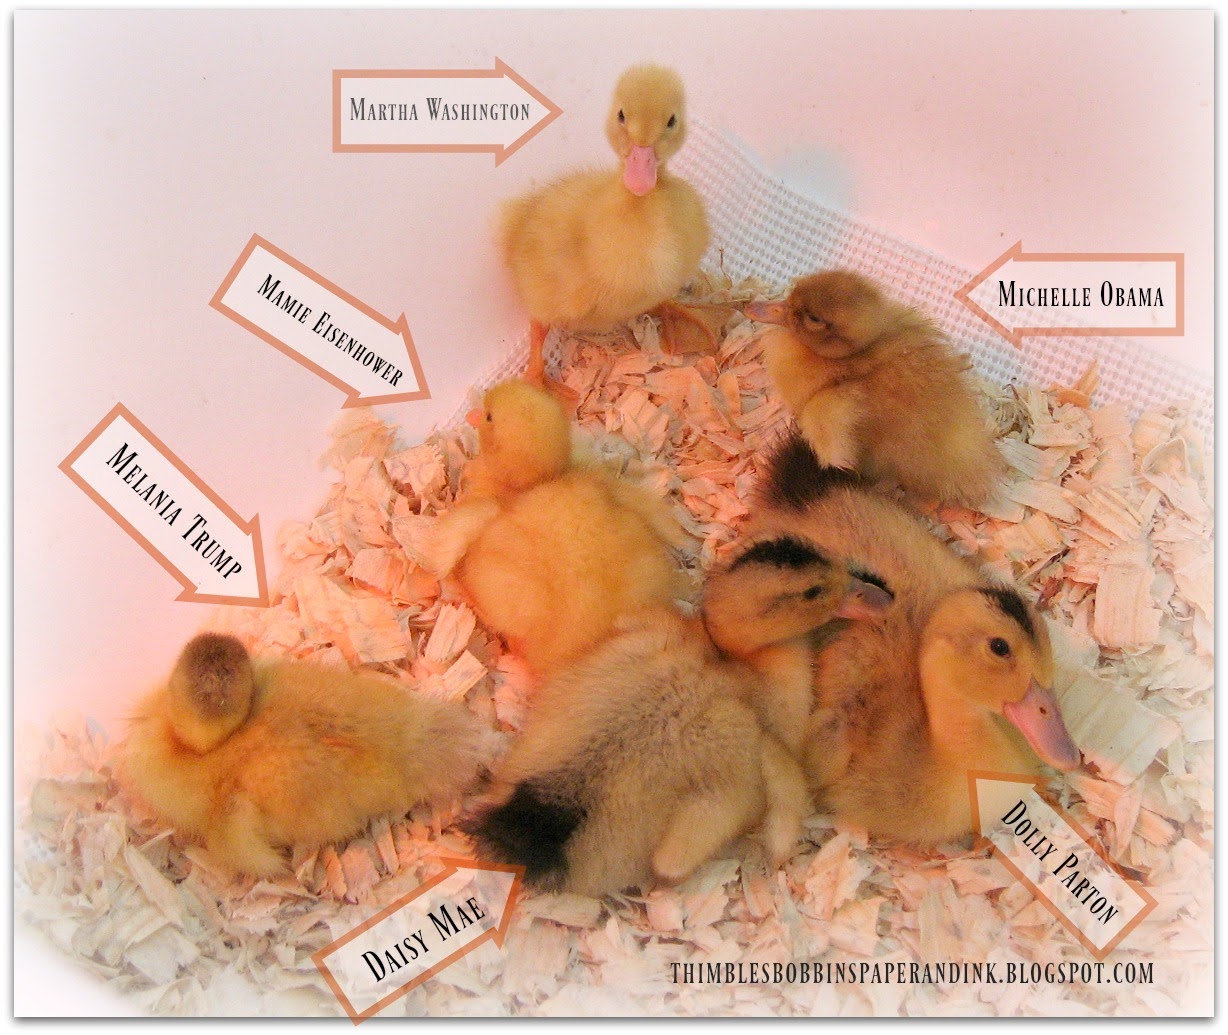
  • 3 Eggs (I used duck eggs)
  • 3/4 cup Plain Yogurt (I bet that lemon yogurt would be good too)
  • Juice from one Lemon (1 Tablespoon)
  • 1 Teaspoon Vanilla Extract
  • 1/4 teaspoon Lemon extract
  • Zest from one Lemon (about a heaping teaspoon)
  • 1 Tablespoon dried Lavender (food grade)
For the glaze:
  • 1/4 cup confectioners sugar
  • Juice of half a lemon (or add more to the consistency you wish)
Directions:
  1. Preheat oven to 325 degrees Fahrenheit.  Grease one 9" x 5" loaf pan and set aside.
  2. In a medium bowl sift together the flour, baking powder, baking soda and salt.  Set aside.
  3. In the bowl of a stand mixer cream the butter.  Gradually add the sugar and beat until light and fluffy, about 7 minutes.
  4. Add the eggs one at a time, mixing each egg until it is fully incorporated.
  5. To the creamed butter and sugar mixture, slowly add the dry ingredients, alternating with the yogurt and mix it all together just until all ingredients are incorporated
  6. Add the lemon juice, vanilla and lemon extracts and the lemon zest and beat on low just until blended.
  7. Gently fold in the lavender.
  8. Pour the batter into the prepared pan and bake for about 60 minutes or until the edges begin to brown and a toothpick inserted in the center of the loaf comes out clean. ( NOTE:  the original recipe said to bake 45 minutes but I found that that was not nearly long enough.  You will want to watch and judge how your oven bakes.)
  9. Cool in the loaf pan for 15 minutes before transferring to a wire rack.
  10. For the glaze, put the confectioners sugar in a small bowl and add the lemon juice a little at a time until a drizzle/pouring consistence is reached.  Then drizzle over the cooled cake.
 
Enjoy!
 
Until next time,
 
Jennifer

Tuesday, June 26, 2018

Belgian Waffles with Strawberries and Cream

 
 My hens are in full on egg production and in trying to decide what to make for dinner tonight that used eggs I just happened to see in the back of my appliance pantry the waffle iron.  I haven't used the waffle iron in years.  I had some strawberries and whipped cream and decided that Belgian Waffles and poached eggs would make a dandy dinner for the Mister.

 
 I love this recipe!  The waffles are light and fluffy inside and just a wee bit crispy on the outside.  The pinch of cinnamon and nutmeg and vanilla  create a delightful waffle.
 
Belgian Waffles Recipe
 
Ingredients:
  • 2 cups of flour
  • 4 teaspoons of baking powder
  • 1/2 teaspoon of salt
  • 1/4 cup sugar
  • 2 eggs (separated)
  • 1/4 cup vegetable oil
  • 2 cups of milk
  • 1 teaspoon vanilla
  • tiny pinch of cinnamon
  • tiny pinch of nutmeg
Directions:
  1. Sift the flour, baking powder, salt sugar, cinnamon and nutmeg together in a large bowl
  2. In a separate bowl, separate the egg whites and beat until stiff peaks form.
  3. In another separate bowl, mix together the egg yolks, milk, oil and vanilla.  Stir to combine.
  4. Add the dry ingredients to the egg yolk/milk mixture and mix well.
  5. Fold in the egg whites
  6. Cook in waffle iron on medium-high heat for 5 or 6 minutes.  Waffle irons may vary so judge your cooking time to your own waffle iron.
 
Yield:  5 or 6 large waffles.
 
Note:  I used approximately 3/4 cup of batter for each waffle.


Until next time,
Enjoy!
 
Jennifer

Monday, June 25, 2018

Strawberry Jam with Balsamic Vinegar and Black Pepper


You know summer has arrived when it is time to get out the canning pot and preserve some of those yummy strawberries.  I made some strawberry jam decided this time to try out a new recipe: Strawberry Jam with Balsamic Vinegar and Pepper.  It's really something special!  Imagine the sweetness of Strawberry Jam that has notes of Balsamic Vinegar and the heat of black pepper.  This jam will be wonderful with goat cheese and crackers.  Or poured over a block of cream cheese and served as an appetizer on crackers.  And how about serving it with fish?  I'm also thinking it would make a yummy sweat salsa-like accompaniment to fish tacos.  The possibilities are many!


Strawberry Jam with Balsamic Vinegar and Black Pepper
 
Ingredients:
  • 2 pounds of fresh, cleaned and hulled STRAWBERRIES
  • 4 cups of sugar
  • 1/4  cup of Balsamic Vinegar
  • 2 teaspoons of black pepper
  • The juice of one lemon
Instructions:
  1. Prepare your jelly jars by washing thoroughly and placing the jars and lids in boiling water for 10 minutes.  Keep the jars in the HOT water until you are ready to fill the jars with the jam.
  2. Place the strawberries in a heavy bottomed saucepan and mash the berries with a potato masher to crush.
  3. Add the sugar, balsamic vinegar, black pepper and lemon juice to the pan with the strawberries and stir well to mix them.
  4. Stir over low heat until all if the sugar has dissolved.
  5. Turn the heat to high until the mixture comes to a full boil.  Stir often to prevent scorching.
  6. Once the berry mixture reaches a full boil, turn the heat down but continue to boil the mixture until it reaches 220 degrees Fahrenheit on a candy thermometer.  Watch very closely and stir often!
  7. Remove and drain the jars and lids from the hot water with tongs
  8. Ladle the hot jam into the hot sterile jars, leaving about 1/2 inch headspace, then seal with the lids and process using the water bath canning method.
Yield: approximately 2 cups


Until next time,
Cheers!
 
Jennifer


Sunday, June 24, 2018

Hulling Strawberries with a drinking straw


I made Strawberry Jam infused with Balsamic Vinegar and Black Pepper this week.  YUM! YUM!  It's sweet and spicy and delicious.  But more later about the jam.
 
Sometimes when taking the tops, leaves and hulls out of the berries when prepping them for the jam, a lot of the berry gets wasted when you cut it.  Well!  I have an easy way to hull the berries.  It's super simple to do and it gets the hull out of the berry without having to cut the top off.  All you need is a drinking straw.  The Mister acted as my hand model and demonstrated the process of hulling strawberries with a drinking straw in this little video.


Guess who gets to enjoy the strawberry tops and hulls when cleaning and preparing strawberries to make strawberry jam?


Happy ducks! And now on to making my jam.
 
Until next time,
Cheers!
 
Jennifer


Thursday, March 15, 2018

My New First Ladies arrived this morning

I don't generally expect telephone calls at 8:00 a.m. but this morning the caller I.D. on my phone showed "Post Office" as the caller and I eagerly answered the phone. 
 
Post Office:  "Hello?  Is this Jennifer?"
Me: "Yes it is."
Post Office:  "I've got some birds here for you."
Me:  "I'll be right there to pick them up."
Post Office:  "See you soon."


Of course it snowed last night AGAIN and my car wasn't in the garage so after a quick brush off of the snow I set off to the post office.  YIKES!  My gas gauge showed nothing!  I was running on fumes.  So, a quick stop at the gas station and I was back on the road to the post office.
 
When I opened the post office doors the sound of "peep, peep, peep, chirp, chirp, PEEP!" filled the room.  So many people in my town are getting their new baby ducks and chickens.
 
I collected my box of ducklings and hurried home to get them under the heat lamp and acquainted with Daisy Mae and Dolly Parton who arrived a week ago.


Yep!  This is how chicks and ducks arrive through the post.  Inside the box are special warmers so that the day old chicks and ducklings stay warm.  My sweet barn cat, Masha, was the postal inspector.  After a quick sniff I took the ducklings inside the house to their brooder.


JUST LOOK at how much bigger a one week old duckling is compared to a day old duckling!  Ducks grow quickly.
 
I removed the babies leg bands, dipped their beaks in sugar water and introduced them to food.  They went at it like...well...like ducks to water.  *Smiles*
 
My new girls are:
Melania Trump and Michelle Obama: they are Welsh Harlequin Ducks
Martha Washington and Mamie Eisenhower: they are Pekin Ducks
Daisy Mae and Dolly Parton:  Silver Appleyard Ducks.
 
Everyone is doing great and getting along well.  In three weeks I'll be getting my final shipment of ducklings.
 
Until next time,
 
Jennifer
 
Quack!  Quack!

Wednesday, March 14, 2018

Daisy Mae and Dolly Parton: One week old


Daisy Mae and Dolly Parton are one week old and today they had their first "swim" in the sink.  Not a whole lot of swimming since my sink is pretty shallow, but they had fun I think.


After the swim they tried out a little bit of chopped parsley.  It was a big hit! 


The girls have really grown quickly in just one week's time.  Tomorrow they will be joined by 4 more day old ducklings.


Until next time,
 
Quack!  Quack!


Tuesday, March 13, 2018

New Ducklings at Gypsy's Pasture

Like everyone else, here at Gypsy's Pasture we are eagerly awaiting Spring after a very cold, long, snowy and blustery winter.  To me, spring means new life new seedlings sprouting, new baby animals born, new goals and ... well... a whole new attitude. 
 
Last week the first of my new baby ducklings arrived.  The first two little cuties I'm getting this year are Silver Appleyard ducklings.  Soooooo CUTE!

 
They arrived from a hatchery located in California so these wee babies were born on Monday and arrived via USPS on Wednesday.  I had my brooder all set up and ready when I got the call from the post office that my little ones had arrived.

 
I have a heat lamp over them so that is why the photos glow with a reddish color.  Both ducklings, who I am naming Daisy Mae and Dolly Parton, drank and ate immediately.  They are active and hungry and settled in the spare bathtub just beautifully.

 
Bert and Ernie, my indoor cats, are very curious about the new residents in the bathroom.  Here is Bert studying them carefully.  Not to worry, though.  Bert and Ernie are highly supervised IF they are even allowed to see the ducklings, so Daisy and Dolly are safe.
 
There will be more ducklings arriving over the next several weeks as well as baby chicken/chicks. 
 
Yep!  New life is the signal that Spring has arrived.
 
Until next time,
 
Quack!  Quack!

Thursday, February 8, 2018

A card to welcome a baby girl

This past Monday was a very special occasion for my family.  My granddaughter had her Mikvah and then followed by her Bris Bat, at which time she received her Jewish name.  It was a very happy and beautiful day of family, prayer, tradition and celebration.
 
  
This is the card I made for my precious granddaughter's Bris Bat.  I computer generated her Hebrew name, which means Sarah, onto pink card stock and then used my stamp positioner to stamp the baby onesie, made by Stampin' Up!,  over her name.  Next I fussy cut the onsie and mounted it on scalloped and straight edged Nestabilities ovals.  I added a some pink liquid pearls to the scallops and mounted it on white and pink cardstock with a little pink polka dot ribbon to match.  Inside I stamped Mazel Tov! (stamp from Stampin' Up!


I wish I could say I made this baby Yarmulke but I cannot crochet this beautifully.  I must give credit where credit is due.  My daughter-in-law, Elena, made this for my Granddaughter (Elena's new niece) as a keepsake for her special day.  It's absolutely lovely.
 
I hope you are keeping warm.  This winter has been incredibly cold and we are all looking forward to an early spring!
 
Until next time,
 
Jennifer


Monday, January 1, 2018

Ringing in the New Year 2018 with Поленница or Polennica

2018!  Happy New Year!
 
The Mister and I had a special treat to ring in the New Year.  My son and daughter-in-law prepared dinner for us and for dessert made Поленница  Polennica.  My daughter-in-law is from Russia and we've been privileged to have her prepare meals of Russian cuisine. 
 

Due to the time difference between Russia and the U.S.A., we decided to ring in the New Year on Moscow time, which was about 4:00 p.m. here in Indiana.  Elena told us about their traditional way of celebrating the New Year.  She even had a video greeting from her parents to show us.
 
But back to the Поленница  (Polennica).  Polennica means logs, or log pile, or log cabin, or stacks of logs.  This FABULOUSLY DELICIOUSLY WONDERFUL cake is built like a log cabin. 


Each layer is rolled out like individual crepes.  Ours were filled with blueberries, but Elena said that typically Поленница is filled with cherries.  We think Raspberries would be wonderful too. The "mortar" is sweetened sour cream.


It makes such a beautiful presentation when sliced and is oh so delicious.


It was a very special New Year's Eve in our home.  I hope yours was too.
 
Happy New Year, my friends!
 
Until Next Time,
 
Jennifer


Follow my blog with Bloglovin


Some of my favorite Blog Parties I enjoy attending:
Jay's Smell Good Sunday  The Dedicated House Make It Pretty Monday,  Wonderful Wednesday Blog Hop Pure Grace Farm,   Worthwhile Wednesdays, Wake Up Wednesdays, Clever Chicks Blog Hop, FoodySchmoody Tuesday Tastings,  Delish Dessert Link Party, Share your stuff Tuesdays, Anyonita Nibbles Tasty Tuesday'sShare it One More Time, Much Ado About MondayFeathered Nest Fridays, DIY Vintage Chic FridayThe Style Sisters Centerpiece Wednesday, Sew-Off Saturday Sew Can She , Two Cup Tuesday , Shabby Art Boutique Shabbilicious Friday , Give Me The Goods Monday , Homestead Barn Hop , Whimsy Wednesday , Knick Of Time ,  From the Farm Blog Hop , A Peek Into My Paradise , A Delightsome Life , Share your Cup Thursday Have a Daily Cup, Homework , Green Willow Pond , A Stroll Thru Life , Work It Wednesday , Savvy Southern Style , I Should Be Mopping the Floors , Common Ground Be Inspired , Simple and Sweet Fridays Sweet and Savory Sunday This Gal Cooks Marvelous Mondays , This Silly Girl's Life, Living Better Together TGIF Linkparty , DIY Sunday Showcase , Dear Creatives Inspiration, Super Saturday Link Party

Monday, June 12, 2017

You're Too Kind

My son and daughter in law have been visiting us and my daughter in law has never stamped or made cards before.  When she saw my craft room overflowing with stamps, paper, embellishments and all of the fun crafting supplies I've acquired over the years she wondered if I'd mind if she'd learn to make cards.  "ABSOLUTELY you may!", I said.  "Help yourself to anything you find." 

She is a natural and has made quite a number of cards while she's been here.  But the best part of all is that she's inspired me to rediscover my stamps and card making as well and we are having just the best time making cards together.


The challenge at The Paper Players this week is a color challenge as shown in the picture below.  I didn't have the exact colors listed but I used what I had that were as close as possible to these.


Card Recipe
 
Stamps:              Stampin' Up! Serene Sunflower and Stampin' Up! Whimsical Words

Ink:                    Stampin' Up! Summer Sun, Crushed Curry, Bermuda Bay
                           Autumn Leaves Pretty Poppy Green
                           Momento Tuxedo Black

Accessories:       Stampabilities Nestabilities Tag Die

Embellishments: Stickles Glitter Glue in Yellow, Diamond and Gunmetal
                             Foam Dimensional tape to pop up the bee
 
Until next time,
Cheers!
 
Jennifer

Sunday, June 11, 2017

Celebrate!

How does time go so quickly?  It's been ages since I've posted.  Since moving to our little farm, "Gypsy's Pasture", my priorities have been focused on the animals, the homestead, the garden and taking care of the Mister.  BUT, I still love crafting, sewing, card making and all forms of needle art.  I decided it was high time I give card making a try again and especially since one of my favorite inspiration sites for card layouts has posted it's last layout challenge.  I'm going to miss MOJO MONDAY challenges.  Here is my card for the FINAL MOJO MONDAY 500 Challenge.


Julee Tillman, who is responsible for these past 10 years of inspirational Mojo Monday layout challenges, asked if anyone wanted to, to comment about the challenges and what they've meant to them.  For myself, it is the layout that I have the most difficulty with when making a card.  I love combining the stamps, papers, color medium, embellishments.  But when it comes to putting them all together on a card, I always found that the most challenging aspect of card making.  Every Monday Julee and a fresh and often VERY challenging layout.  I have looked forward to each Monday, whether or not I actually participated in making a card, to Julee and her team's creative layout challenges and seeing how all of the participants used that layout in their own creative way.

The sketch (below) is the final Mojo Monday 500 Layout sketch that I used for my card:

 
Thank you Julee and many thanks to your design team and all of the participants.  I've thoroughly enjoyed following your blog and participating in as many of the challenges as time has allowed me.
 
Until next time,
Cheers!
 
Jennifer

Sunday, January 1, 2017

Cheers to 2017 with Duck Egg Eggnog!


The Mister and I toasted in the New Year with some delicious Duck Egg Eggnog.  I just had to share my recipe with you because it is THAT GOOD!  You don't have to use duck eggs...chicken eggs work too.  But I had an abundance of Duck Eggs and they make this eggnog so decadent and wonderful.  And freshly grated Nutmeg is the true secret.

Last year I gave Duck Egg Eggnog to several of my neighbors and they insisted that it become a yearly tradition.  So I bottled up a few jars and they will be delivered today to ring in the new year.

 
Here is my recipe:
 
Duck Egg Eggnog
 
Ingredients:
  • 4 cups whole milk
  • 2 cups heavy cream (whipping cream)
  • 2/3 cup of maple syrup (white sugar is fine too if you don't have maple syrup)
  • pinch of salt
  • 6 Duck egg YOLKS (chicken eggs yolks work fine too)
  • 6 Duck egg WHITES (chicken egg whites work fine too)
  • 6 Tablespoons sugar
  • 1 teaspoon freshly grated nutmeg
  • 2 teaspoons vanilla paste (if you don't have vanilla paste then use 2 teaspoons vanilla extract)
  • 1/8 teaspoon ground clove
  • 1/2 teaspoon ground cinnamon
 
Directions:
  1. In a saucepan heat up the milk and cream until warm to the touch
  2. Whisk the sugar, egg yolks and salt together
  3. Temper some of the warm milk liquid into the egg yolks, stirring constantly
  4. Add the egg yolk mixture back into the saucepan of milk and heat until it reaches 160 degree F on a thermometer
  5. Take off the heat and let it cool
  6. Whip the 6 Tablespoons of sugar and the egg whites together until ribbon-y (just before you reach the soft peak stage)
  7. Stir the nutmeg, vanilla, clove and cinnamon into the egg white mixture
  8. Add the egg whites into the yolk mixture and stir together
  9. Keep refrigerated and be sure to stir well before serving.


Until next time,
Cheers!
 
Jennifer


Follow my blog with Bloglovin


Some of my favorite Blog Parties I enjoy attending:
Jay's Smell Good Sunday  The Dedicated House Make It Pretty Monday,  Wonderful Wednesday Blog Hop Pure Grace Farm,   Worthwhile Wednesdays, Wake Up Wednesdays, Clever Chicks Blog Hop, FoodySchmoody Tuesday Tastings,  Delish Dessert Link Party, Share your stuff Tuesdays, Anyonita Nibbles Tasty Tuesday'sShare it One More Time, Much Ado About MondayFeathered Nest Fridays, DIY Vintage Chic FridayThe Style Sisters Centerpiece Wednesday, Sew-Off Saturday Sew Can She , Two Cup Tuesday , Shabby Art Boutique Shabbilicious Friday , Give Me The Goods Monday , Homestead Barn Hop , Whimsy Wednesday , Knick Of Time ,  From the Farm Blog Hop , A Peek Into My Paradise , A Delightsome Life , Share your Cup Thursday Have a Daily Cup, Homework , Green Willow Pond , A Stroll Thru Life , Work It Wednesday , Savvy Southern Style , I Should Be Mopping the Floors , Common Ground Be Inspired , Simple and Sweet Fridays Sweet and Savory Sunday This Gal Cooks Marvelous Mondays , This Silly Girl's Life, Living Better Together TGIF Linkparty , DIY Sunday Showcase , Dear Creatives Inspiration, Super Saturday Link Party

Saturday, October 29, 2016

Pumpkin Cornbread with Cinnamon Honey Butter


Every autumn the pumpkin craze starts up again and we find pumpkin in anything and everything. I must admit that I'm a crazy pumpkin fanatic too. Pumpkin Spice Latte, Pumpkin Spice Cherrios Cereal, Pumpkin Soup, Pumpkin Roll, Pumpkin Pie and ... PUMPKIN CORNBREAD with CINNAMON HONEY BUTTER!
It's wonderful! Both the cornbread and the Cinnamon Honey Butter. Put them together and they are quite the feast!

You know you want to try it! Here is the recipe:

Pumpkin Cornbread with Cinnamon Honey Butter

INGREDIENTS

Cornbread:
  • 1 cup all-purpose flour
  • 1 cup cornmeal
  • 1 teaspoon baking powder
  • 1/2 teaspoon baking soda
  • 1.2 teaspoon salt
  • 1.2 teaspoon ground cinnamon
  • 1/2 teaspoon ground ginger
  • 1/4 teaspoon ground nutmeg
  • 1/4 teaspoon ground cloves
  • 1/2 cup packed light-brown sugar
  • 1.4 cup unsalted butter, melted
  • 1 cup pumpkin puree
  • 1/2 cup sour cream
  • 2 large eggs

Whipped Cinnamon Honey Butter:
  • 1/2 cup salted butter
  • 1/3 cup honey
  • 1/4 confectioner's sugar (powdered sugar/icing sugar)
  • 1 teaspoon ground cinnamon

DIRECTIONS:
  1. For the cornbread:  Preheat the oven to 375 degrees.
  2. In a mixing bowl whisk together flour, cornmeal, baking powder, baking soda, salt, cinnamon, ginger, nutmeg and cloves for 20 seconds.  Make a well in the center of the flour mixture then set aside.
  3. In a separate mixing bowl, add brown sugar and break up sugar with fingertips until no clumps remain.  Add in melted butter and pumpkin and whisk to combine.  Mix in sour cream and eggs until well blended.  Pour mixture into well in flour mixture then fold with a rubber spatula and just until combined and no streaks of flour remain.
  4. Spray and 8" by 8" baking dish with non-stick cooking spray and pour batter into pan.  Spread batter into an even layer and bake in a preheated oven until toothpick inserted into center comes out free of batter, about 25 - 30 minutes.  Cool slightly on a wire rack and then cut into squares.  Serve with Cinnamon Honey Butter.
For the Cinnamon Honey Butter:
  1. In a mixing bowl whip butter with an electric mixer until smooth.  Add in honey, powdered sugar and cinnamon and mix on low speed until combined, then increase to high speed and whip  until light and fluffy, about 2 - 3 minutes.
Recipe source: http://www.cookingclassy.com/2015/10/pumpkin-cornbread-with-cinnamon-honey-butter

 
Until next time,
Cheers!
 
Jennifer


Follow my blog with Bloglovin


Some of my favorite Blog Parties I enjoy attending:
 
The Dedicated House Make It Pretty MondayWonderful Wednesday Blog Hop Pure Grace Farm,   Worthwhile Wednesdays, Wake Up Wednesdays, Clever Chicks Blog Hop, FoodySchmoody Tuesday Tastings,  Delish Dessert Link Party, Share your stuff Tuesdays, Anyonita Nibbles Tasty Tuesday'sShare it One More Time, Much Ado About MondayFeathered Nest Fridays, DIY Vintage Chic FridayThe Style Sisters Centerpiece Wednesday, Sew-Off Saturday Sew Can She , Two Cup Tuesday , Shabby Art Boutique Shabbilicious Friday , Give Me The Goods Monday , Homestead Barn Hop , Whimsy Wednesday , Knick Of Time ,  From the Farm Blog Hop , A Peek Into My Paradise , A Delightsome Life , Share your Cup Thursday Have a Daily Cup, Homework , Green Willow Pond , A Stroll Thru Life , Work It Wednesday , Savvy Southern Style , I Should Be Mopping the Floors , Common Ground Be Inspired , Simple and Sweet Fridays Sweet and Savory Sunday This Gal Cooks Marvelous Mondays , This Silly Girl's Life, Living Better Together TGIF Linkparty , DIY Sunday Showcase , Dear Creatives Inspiration, Super Saturday Link Party

Monday, October 17, 2016

Memory House by Bette Lee Crosby


Memory House grabbed my attention and didn't let go until I turned the last page. The combination of women's friendships, a mystical "gift" to be discovered and passed on, combining past treasures with present and modern day problems with relationships, and work place issues made this book a winner.

Bette Lee Crosby creates characters that you come to love, and some for whom you never wish to meet!  That is part of good story telling and character development.

I highly recommend Memory House and look forward to reading more in this series.


I had the privilege of reading Memory House through ibooks and given the opportunity to given an honest review.

Until Next Time,
Cheers!
 
Jennifer


Tuesday, September 13, 2016

Glass Etched Flour Canister


I like to bake bread and not just plain white bread.  I have a lot of different kinds of flour ranging from whole wheat, multigrain, rye, buckwheat, graham...the list goes on.  I use a lot of whole wheat flour and I needed another canister to store it in.  While rummaging around in the basement I came across a couple of huge, gallon+ size, glass pickle jars.  You know...the kind that food service and vendors have that their pickles and condiments come in.  That's when I decided to upcycle the jars into flour canisters.
 

The clear glass was perfect for trying my hand at a little decorative glass etching.

 
For the lettering I cut out my own lettering stencil to spell our FLOUR in a fun script.  Then I used a Martha Stewart floral design stencil beneath the word FLOUR.  I taped the stencils to the glass jar and applied the Martha Stewart Glass etching liquid with a foam brush over the letters and design.
 
 
Then being very careful, I removed the stencils, washed away the excess etching compound and...
Voila!
I created a canister for more flour. 

 
The lid is looking a little shabby covering the pretty jar so I think perhaps I'll cover it with either a pretty fabric or I'll paint it.  It's fun giving new purpose to discarded 'junk'.
 

Until next time,
Cheers!
 
Jennifer
 

Follow my blog with Bloglovin


Some of my favorite Blog Parties I enjoy attending:
 
Wonderful Wednesday Blog Hop Pure Grace Farm,   Worthwhile Wednesdays, Wake Up Wednesdays, Clever Chicks Blog Hop, FoodySchmoody Tuesday Tastings,  Delish Dessert Link Party, Share your stuff Tuesdays, Anyonita Nibbles Tasty Tuesday'sShare it One More Time, Much Ado About MondayFeathered Nest Fridays, DIY Vintage Chic FridayThe Style Sisters Centerpiece Wednesday, Sew-Off Saturday Sew Can She , Two Cup Tuesday , Shabby Art Boutique Shabbilicious Friday , Give Me The Goods Monday , Homestead Barn Hop , Whimsy Wednesday , Knick Of Time ,  From the Farm Blog Hop , A Peek Into My Paradise , A Delightsome Life , Share your Cup Thursday Have a Daily Cup, Homework , Green Willow Pond , A Stroll Thru Life , Work It Wednesday , Savvy Southern Style , I Should Be Mopping the Floors , Common Ground Be Inspired , Simple and Sweet Fridays Sweet and Savory Sunday This Gal Cooks Marvelous Mondays , This Silly Girl's Life, Living Better Together TGIF Linkparty , DIY Sunday Showcase , Dear Creatives Inspiration, Super Saturday Link Party


Saturday, September 10, 2016

A Wave From Mama

I received an Advance Reader's Copy of A Wave From Mama in exchange for an honest review.


A Wave From MamaA Wave From Mama by A. Robert Allen

My rating: 5 of 5 stars


A Wave from Mama is the second novel in A. Robert Allen’s series, Slavery and Beyond. An historical fiction novel that begins in the year 1863, following the Draft Riots, in Weeksville, New York where former slaves find refuge in the camp where they found refuge and yearned to start a new life. It is a history lesson in post civil war tense relations between Blacks, Irish immigrants, gangs and police corruption and incorporated in the story is the historic importance of the building of the Brooklyn Bridge.

The reader is immediately introduced to the central characters, Venture Simmons who is a socially awkward and physical small but very agile boy who witnessed the rape and murder of his mother, and the man, Moses Brown, who would become Venture’s confidant and best friend. Venture promises his Mama’s memory to all with the shouts, “You killed Mama, and you’re all gonna pay!”

The story of Venture is touching with the love and friendship of the people who would become his family who take him in as their own family (Esther, Thomas, Mabel and Horace Washington), his friend Moses, the young girl Grace who would eventually become his wife, and John Singleton and most importantly Venture’s love and devotion to his Mama’s memory. This love and friendship all in the midst of the tumultuous time in history.

A Wave from Mama is a history lesson of events that I wasn’t aware of; that is the Draft Riots, the clash between the Irish and Blacks and the history and significant importance of the building of the Brooklyn Bridge. I was immediately drawn in to the story. I thoroughly enjoyed this book and thank the author, A. Robert Allen, for teaching me about these aspects of post civil war history and slavery that I knew little about in a most captivating novel.

Historic fiction is my favorite genre of fiction and this novel did not disappoint.

Until next time,
Cheers!
 
Jennifer

Friday, September 9, 2016

Infant and Toddler Summer Sun Suit Rompers

Someone very special to me had her second baby girl this summer.  The newborn has a 2 years old big sister, so I thought it might be fun to make the little girls matching Summer Sun Suits.  

 
 I just love browsing digital sewing patterns on Etsy and I found this darling pattern that would fit sizes from Newborn to 24 months at My Childhood Treasures Etsy shop.

 
 The pattern does have a ruffle pattern piece, but I decided to use up some of my lacey ruffles, satin ribbons and satin rose buds and embellish in my own way.

 
These were so fast to sew up and I had just the best time making them. 

 
 Nothing more sweet than seeing little girls in ruffles and bows, ribbons and rosebuds.

 
 For the infant romper, since it was so tiny, rather than using three rows of the wider eyelet lace, I chose to use five rows of a narrow lace.


Of course I had to match the satin ribbons and rosebuds to the big sister version of the sun suit.

 
The fabric is from Tanya Whelan.  I just love her romantic fabrics. 


Until next time,
Cheers!
 
Jennifer
 

Follow my blog with Bloglovin


Some of my favorite Blog Parties I enjoy attending:
 
Wonderful Wednesday Blog Hop Pure Grace Farm,   Worthwhile Wednesdays, Wake Up Wednesdays, Clever Chicks Blog Hop, FoodySchmoody Tuesday Tastings,  Delish Dessert Link Party, Share your stuff Tuesdays, Anyonita Nibbles Tasty Tuesday'sShare it One More Time, Much Ado About MondayFeathered Nest Fridays, DIY Vintage Chic FridayThe Style Sisters Centerpiece Wednesday, Sew-Off Saturday Sew Can She , Two Cup Tuesday , Shabby Art Boutique Shabbilicious Friday , Give Me The Goods Monday , Homestead Barn Hop , Whimsy Wednesday , Knick Of Time ,  From the Farm Blog Hop , A Peek Into My Paradise , A Delightsome Life , Share your Cup Thursday Have a Daily Cup, Homework , Green Willow Pond , A Stroll Thru Life , Work It Wednesday , Savvy Southern Style , I Should Be Mopping the Floors , Common Ground Be Inspired , Simple and Sweet Fridays Sweet and Savory Sunday This Gal Cooks Marvelous Mondays , This Silly Girl's Life, Living Better Together TGIF Linkparty , DIY Sunday Showcase , Dear Creatives Inspiration, Super Saturday Link Party


Wednesday, September 7, 2016

Art...Soul...Life


It's been ages since I've inked up stamps and made a card or two and I've really missed it.   I decided to take advantage of this week's Mojo Monday #464 card layout shown below:


I was cleaning and putting away supplies in my craft/sewing room and discovered some very old supplies.  Do you remember the FASCINATOR stapler?  It was all the rage about 10 years ago.  I decided to put it back in use to attach the ribbon tape.  And the Designer Paper is some very, very old Anna Griffin paper.  I always have loved Anna Griffin supplies and this floral paper was one of my all time favorites.  I had a scrap just large enough to use for this card.  And the Sentiment Stamp I've had for years and years and....well, YEARS!


Card Recipe:
Stamps:  Hampton Arts
Ink:  Versamark, Versacolor in Green Tea, and Color Box in Cranberry
Designer Paper:  Anna Griffin
Accessories:  Clear Embossing Powder, Fascinator Stapler and Staples, Nestabilities Square Die cut and Embossing Folder


Until next time,
Cheers!
 
Jennifer